Unlike bitmap programs like Photoshop, Illustrator works with what are called vector images. Creating shapes in Illustrator is done mathematically, for example the size and position of a circle, its colour and width are all defined and stored as mathematical data. Vector files are very small and are known as being “resolution-independent”. This means that they can be enlarged to billboard size and they will not lose definition – lines will always be clean and smooth, and colours solid and flat. In our Illustrator courses we show you how to create vector artwork that’s great for logos, diagrams and illustrations.
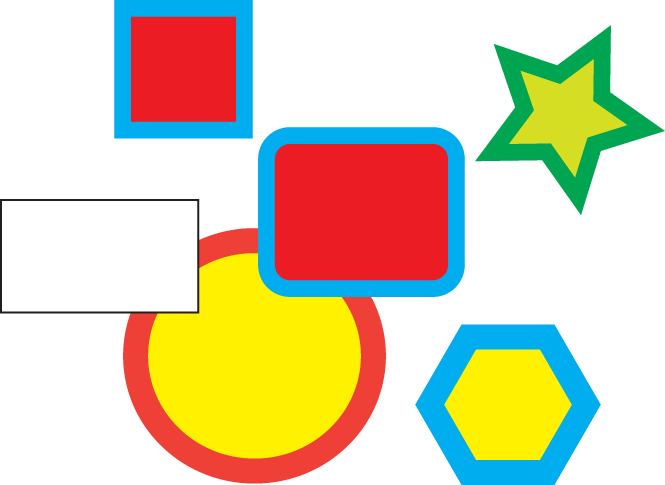
Creating basic shapes is very easy. First create a new print document in Illustrator. Then go to your toolbox on the left. Note that directly under the Type tool is the Rectangle tool. Press on this tool to reveal a few tools stacked behind it: the Rounded Rectangle tool, Ellipse tool, Polygon tool, and Star tool. Starting with the top Rectangle tool, go over onto your page, then click and drag. A black and white rectangle shape is drawn; the colours used are those loaded at the bottom of your toolbox, black and white being the default colours.
Draw another rectangle, this time pressing down on the Shift button on your keyboard. This time you get a square. Pressing Shift generally constrains the width and height proportions.
The next basic drawing tool is the Rounded Rectangle tool. You can alter the corner radius by clicking once on the artboard; this opens up a dialog box. Here you can enter precise values for the width, height and corner radius. This will produce a shape of the same size but with different corner radii.
Feel free to change the colours of the fill and stroke. To change the thickness (or weight) of the stroke (outline), change the Stroke value on the Control panel at the top or the Stroke panel on the right.
Next is the Ellipse tool; again press down on Shift as you draw to create a perfect circle.
The Polygon tool creates a hexagon by default. Pressing Shift in this case will constrain the bottom edge to the horizontal. To change the number of sides, just click on the artboard and change the number.
Next is the Star tool; again click on the artboard to change the number of points. Alternatively, a shortcut is to hit the arrow keys on your keyboard as you drag out the star shape.
The final tool in the basic shapes stack is the Flare tool; click once on the artboard and hit OK. This creates a camera-style flare; good maybe for adding a lighting effect to an image, but not really used much. Again you adjust the values in the dialog box to simplify the effect.
You can now move, scale or rotate these shapes with the Selection tool (the black arrow). Creating basic shapes is a breeze in Adobe Illustrator! And an essential tool for those studying to become professional graphic designers. For more information on this, have a look at the Australian Graphic Design Association.
Our Illustrator courses are ideal for the beginner, providing easy and relevant introductions to using the software in the workplace. See many examples of our clients’ work on our Facebook Illustrator album: www.facebook.com/DesignWorkshopSydney
Other related Illustrator Blog Posts:

 Graphic Design Courses